
It might seem like an odd suggestion—why on Earth would you ever want to delete every photo on your phone? Well, truth be told, deleting your photos all at once is probably something you won’t have to do very often in life. Perhaps you’re giving an old phone to a friend, and while there’s no need for a full factory restore, you don’t want them to be digging through your personal photos. Maybe you recently went through a rough breakup, and you’ve decided to metaphorically “burn” everything and move on. Or, more likely, you’ve run out of room on your phone for apps or music because you downloaded too many memes. Whatever the reason, you’ve come here because you need these photos gone—and now.
No worries. Deleting your photos en masse is actually a pretty simple task to take on, and it’s only going to take a few steps to get it all done. So sit back, pour yourself a drink, and don’t stress—we’ll have you over Sandra or Jonathan (or whatever your ex’s name was) in no time.
STEP ONE: CONSIDER BACKING UP YOUR PHOTOS

Look, we get it. For whatever reason, you don’t want to have any memories of the photos on your phone, and that’s understandable! There are plenty of reasons you could want to erase your entire history of photographs. Before you throw everything away though, we do recommend making a backup of your photos, just in case you do want to return to them someday. If you’re really set on there being no photographic trace of the events of your life (maybe you’re ghosting the system, for example), that’s cool too. Go on ahead and skip to step two. But for everyone else, here’s a quick guide on how to backup your photos.
The best way to backup your photos is to use Google Photos, the excellent photo-backup service offered by the makers of Android. Google Photos is an application for Android that makes it quick and easy to back up your photos over Wi-Fi as soon as you take them. You can back up your entire device, or choose specific folders for your selections, and your photos will immediately be available on any device you’ve signed into your Google account on. The app will walk you through backing up your photos, and the time it takes will depend on both your internet speeds and the amount of photos you’re backing up, so go ahead and plan on uploading them overnight while your phone is plugged in. Once everything’s been uploaded, you’ll see a small cloud icon at the top of your page with a small check mark. If you want, log into your desktop or laptop computer and check photos.google.com to see if your photos have finished uploading.
A quick note that, if all you’re looking to do is free up space on your device, Google Photos has an option that will delete all photos and videos from your device once they’ve been uploaded to the cloud. You simply slide open the menu on the left of the device, select “Free Up Space,” and the app will take care of the rest. For some of you, this may be all you need. For everyone else, move on down to step two, in which I’ve included two options.
STEP TWO: DELETING YOUR PHOTOS
Option One: Gallery apps
Alright, time to delete those photos. If you followed the above step to upload your pictures to Google Photos, we suggest you do not use the Google Photos app to delete the pictures off your phone. Doing so will also delete your cloud backups, and that’s no good if you wanted to save a copy just in case. Instead, make sure you use either the standard gallery app on your phone, or, if you use a phone that only came with the Google Photos app, use a third-party gallery app like QuickPic Gallery to delete these files off your phone. If you use the Google Photos app, you won’t just be deleting versions of your photos on your phone; you’ll also be deleting the copies of your photos you uploaded to the cloud. Yikes!
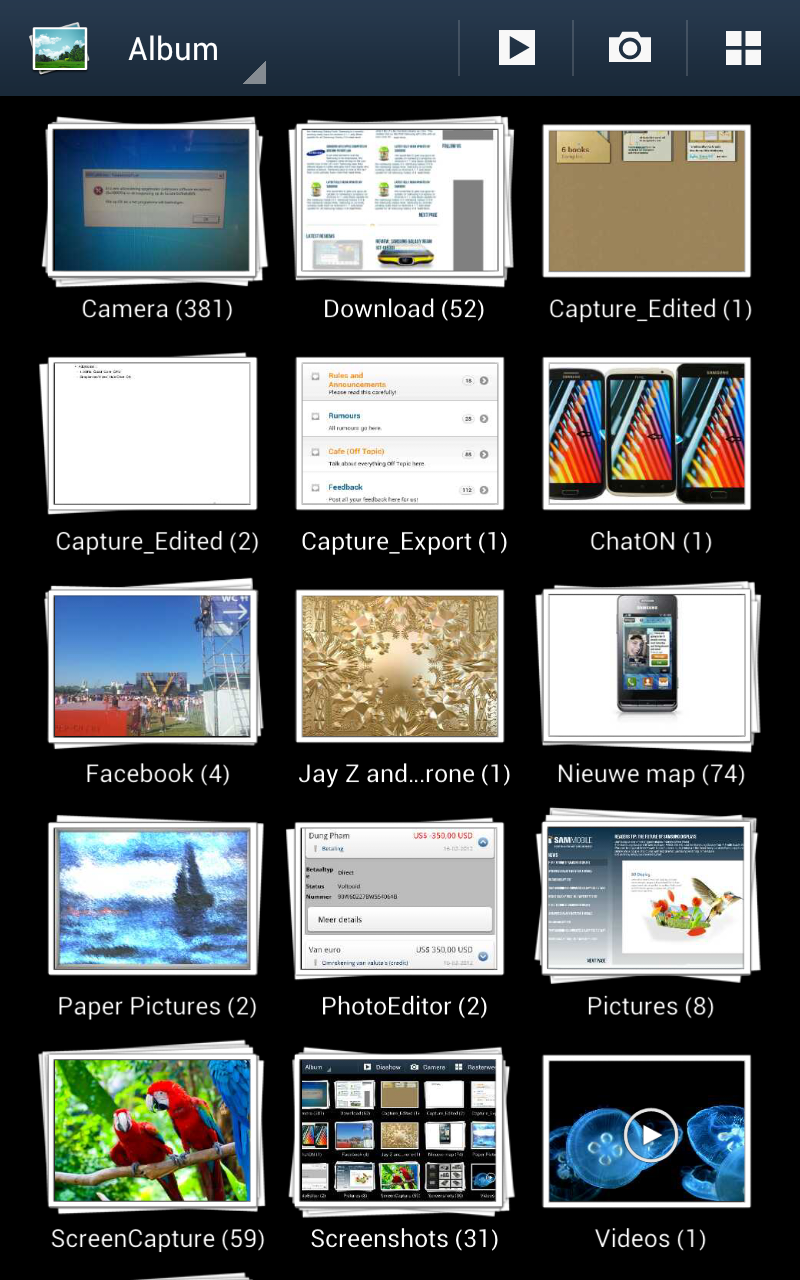
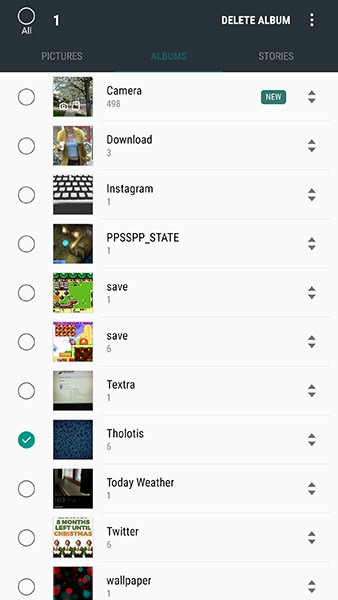
So, once you’ve opened either your standard Gallery app, or a third-party gallery application of your choosing, look for the option to view “albums.” Every gallery app is going to be different, but traditionally, you’ll have the option to either view photos individually by date or together as an album. You’ll most likely see several albums in album view in addition to your camera roll, including screenshots, downloads, and any other applications that save photos to the device. One of the easiest way to remove files from the device is to delete each album individually. Not every gallery app has this capability, but most should. Simply press and hold on an album to select it, which should allow you to select each album you want to delete. On Samsung’s Gallery application, it also includes the ability to select all albums. Once you’ve done this, click delete album, and confirm. Your photos will be removed from your device.
Option Two: File manager apps
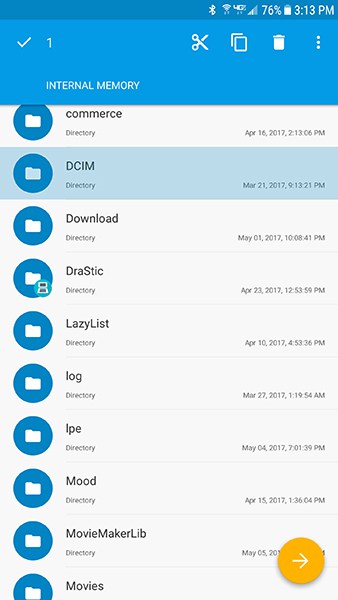
If you don’t want to use a gallery app, you can still use a file browser to do a very similar task to the gallery app method I detailed above. Using either the stock file manager or, if your phone doesn’t provide one, a third-party manager from the app (I wholeheartedly recommend Solid Explorer—it’s solid!), simple move through your file system until you find the folders that contain the photos you want to delete. This takes a bit more time than using gallery apps, which displays all your photo-containing-folders at once. You’ll have to go through your entire file system, looking for the folders you need to delete. Once you’ve done this admittedly long process, you’ll have no doubt that your phone is once again photo-free, though I still recommend trying the gallery option first, if only for ease-of-use.
CONCLUSION
That’s it! Luckily, deleting photos is about as hard as deleting any other file off a computer—very easy once you know what your doing. If you run into any device-specific issues while trying to remove photos from your phone, let us know in the comments below!
Comments
Post a Comment